Best DIY experience ever - How I built my first guitar out of random spare parts
It has always been my dream to build a guitar that I could call my own. Here's how it went down.
Even though some wouldn't consider it a full-on guitar build (where you take a few pieces of wood and start carving), I do think doing something like this with my own two hands and without any prior experience counts for something, especially considering that the result is great.
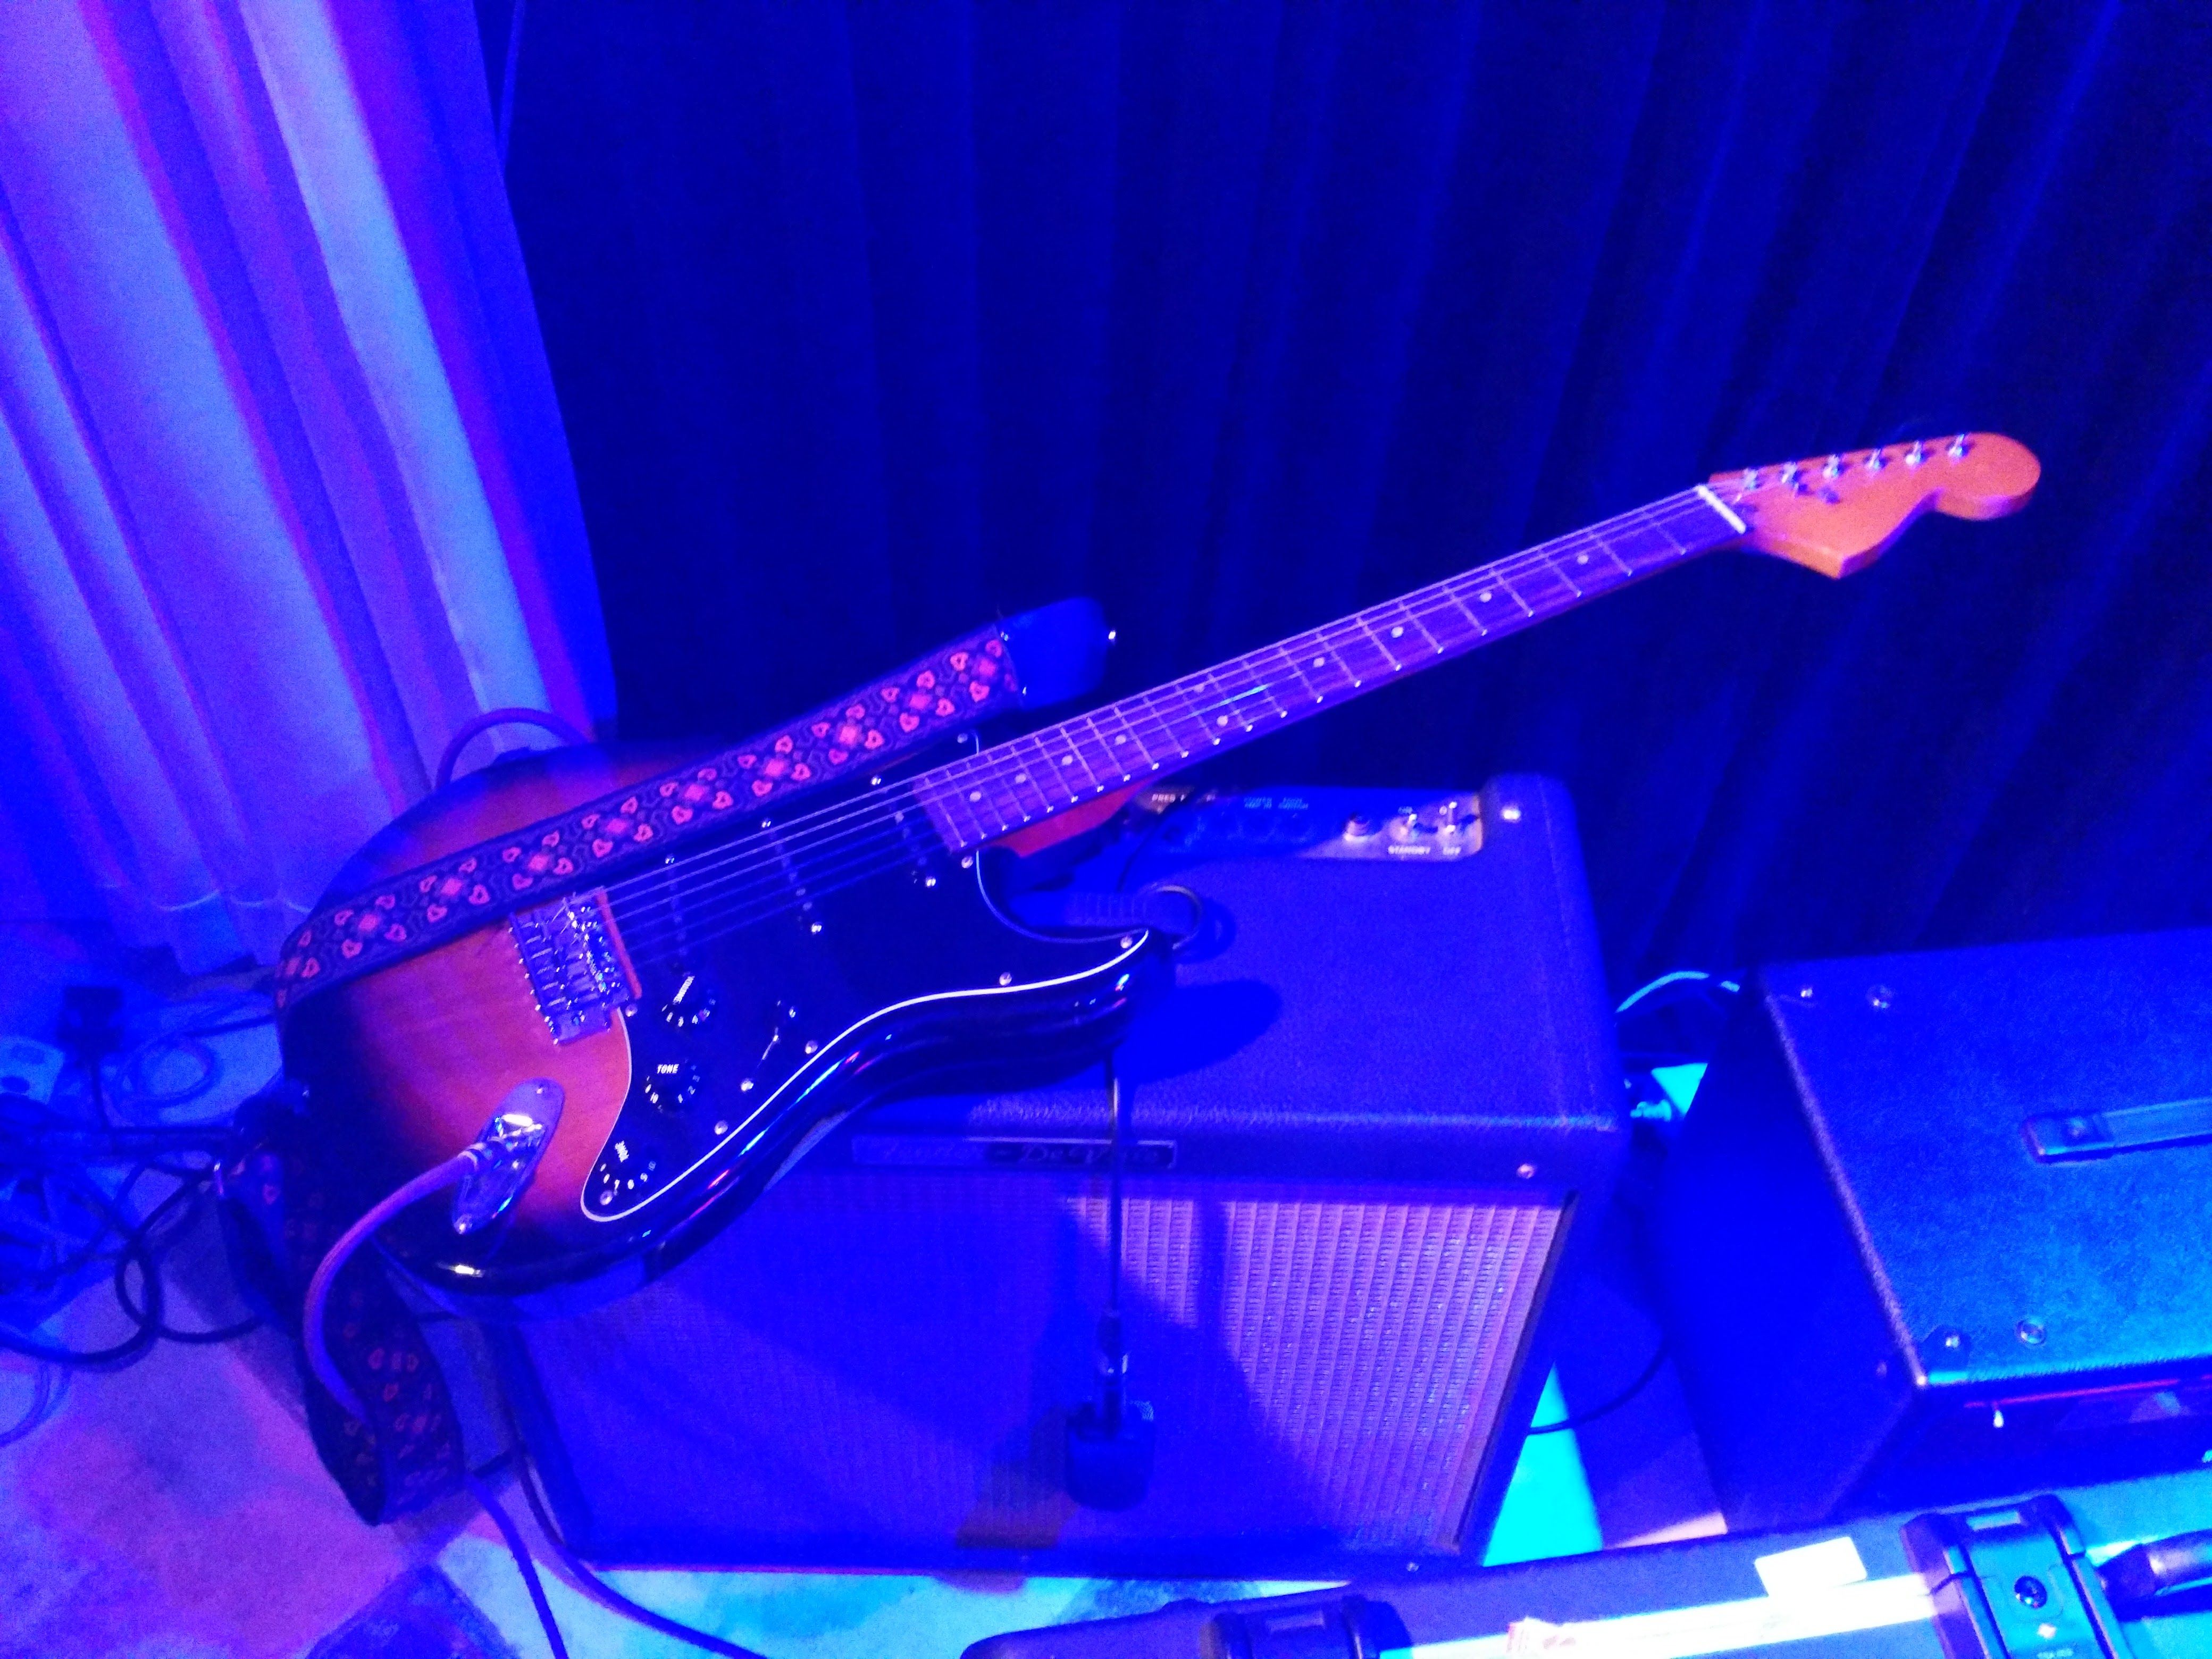
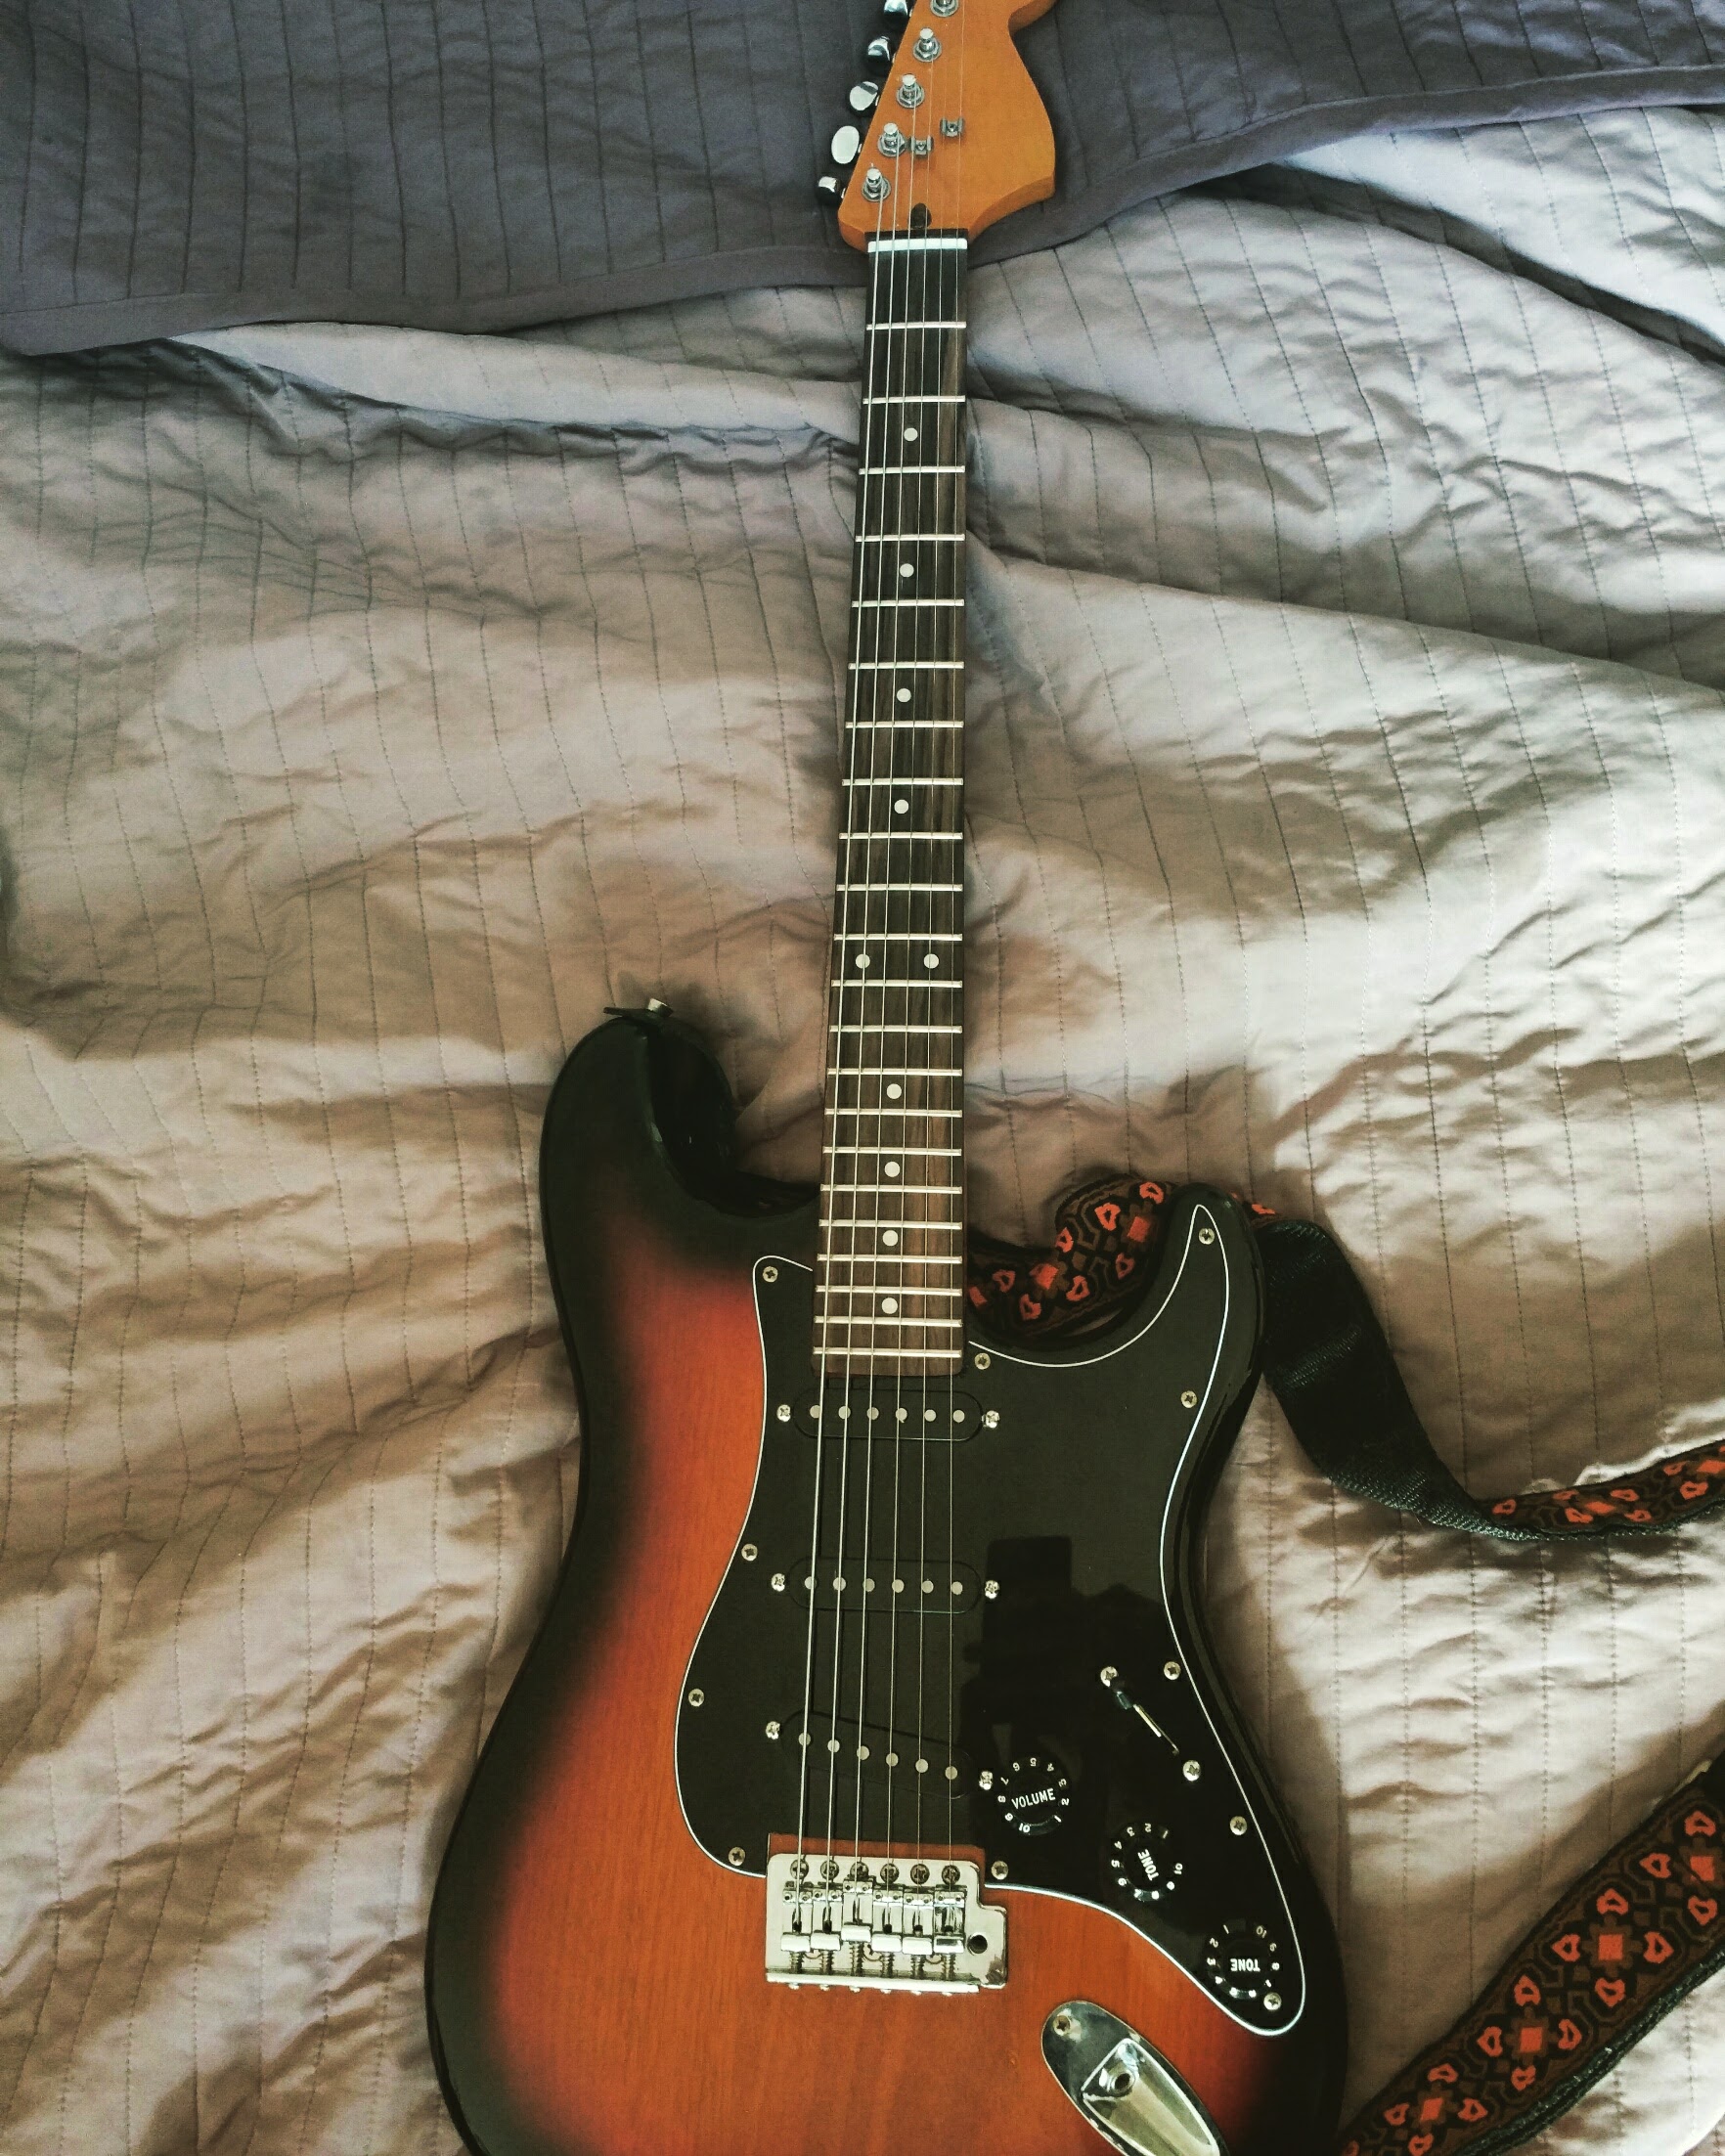
Here it is at a gig. I use it all the time now.
It all started a few years back, when I took a trip to the annual Music Expo. There, amongst other things, I picked up a Strat knockoff, that cost me about 40 bucks and was a complete guitar (crazy, right?). Although it did have all the aspects of a guitar, it was more or less unplayable and quickly ended up on the wall as a room decoration. It spent a few years gathering dust on the wall, but once we had to move to a different apartment, it became kind of an issue cause now it was taking valuable rack space.
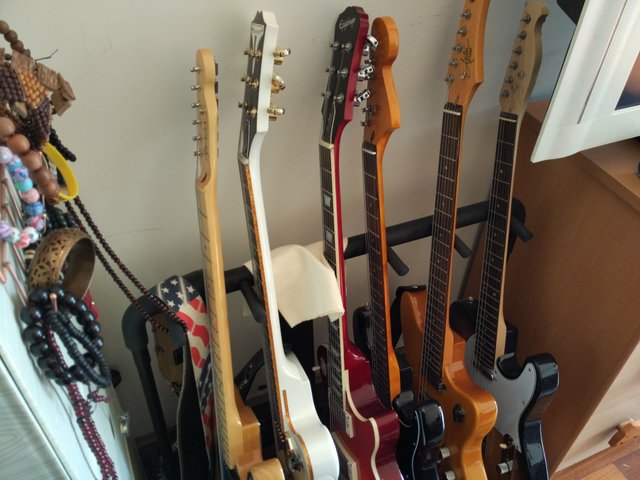
Most of those beads and bracelets aren't mine... Most...
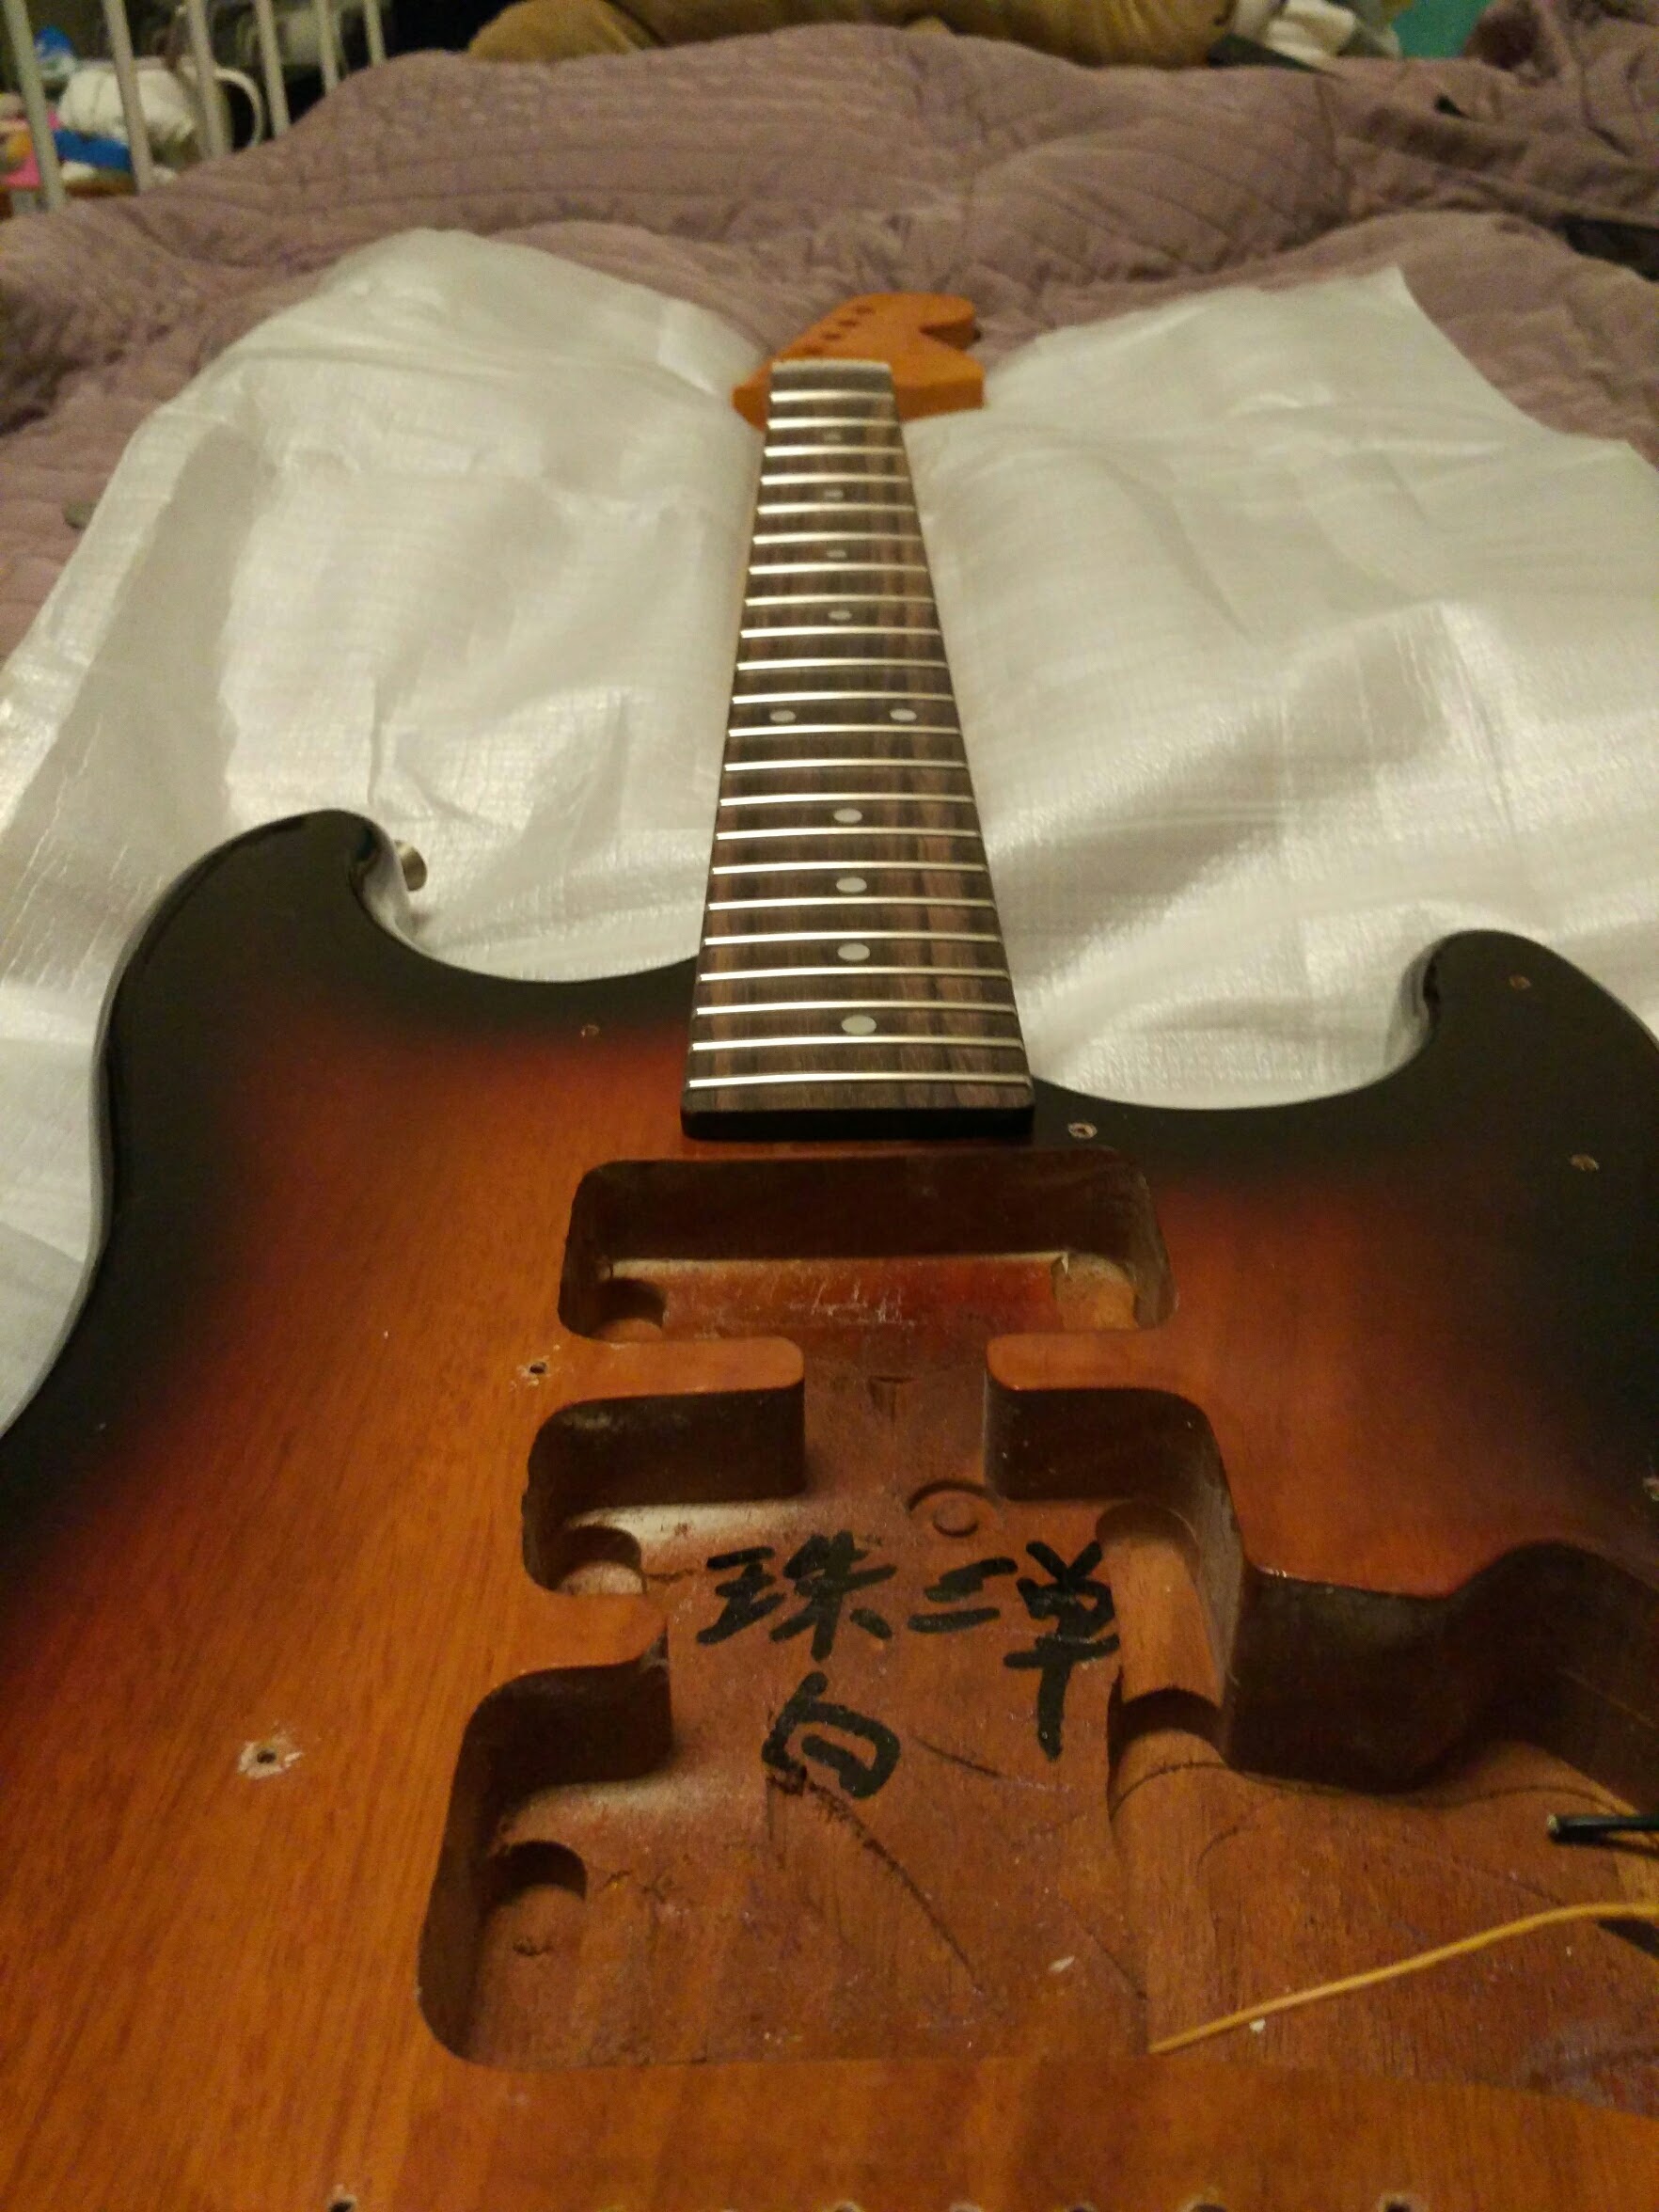
Anyway, it was time to either throw it away or do something about it, turn it into a usable instrument. I decided that I really liked the dark sunburst body and that the rest of the guitar needed to go. I started by taking it apart and getting rid of all unwanted parts. At that point I'd also ordered the neck (took a gamble on it buying it online, but it was only 25 bucks, so was well worth the risk). Here's what I ended up with:
I've also bought a pickguard loaded with Seymour Duncan pickups on Reverb.

New and old pickguards
I was more or less ready to put it all together and went to a friend's place to do it. He had all the tools (or so we thought). It was a really fun process, although it didn't really go without hickups because we kept missing tools and kept taking trips to the market, to by this drill bit, or that screwdriver. Those trips took more time than the actual drilling and assembly.
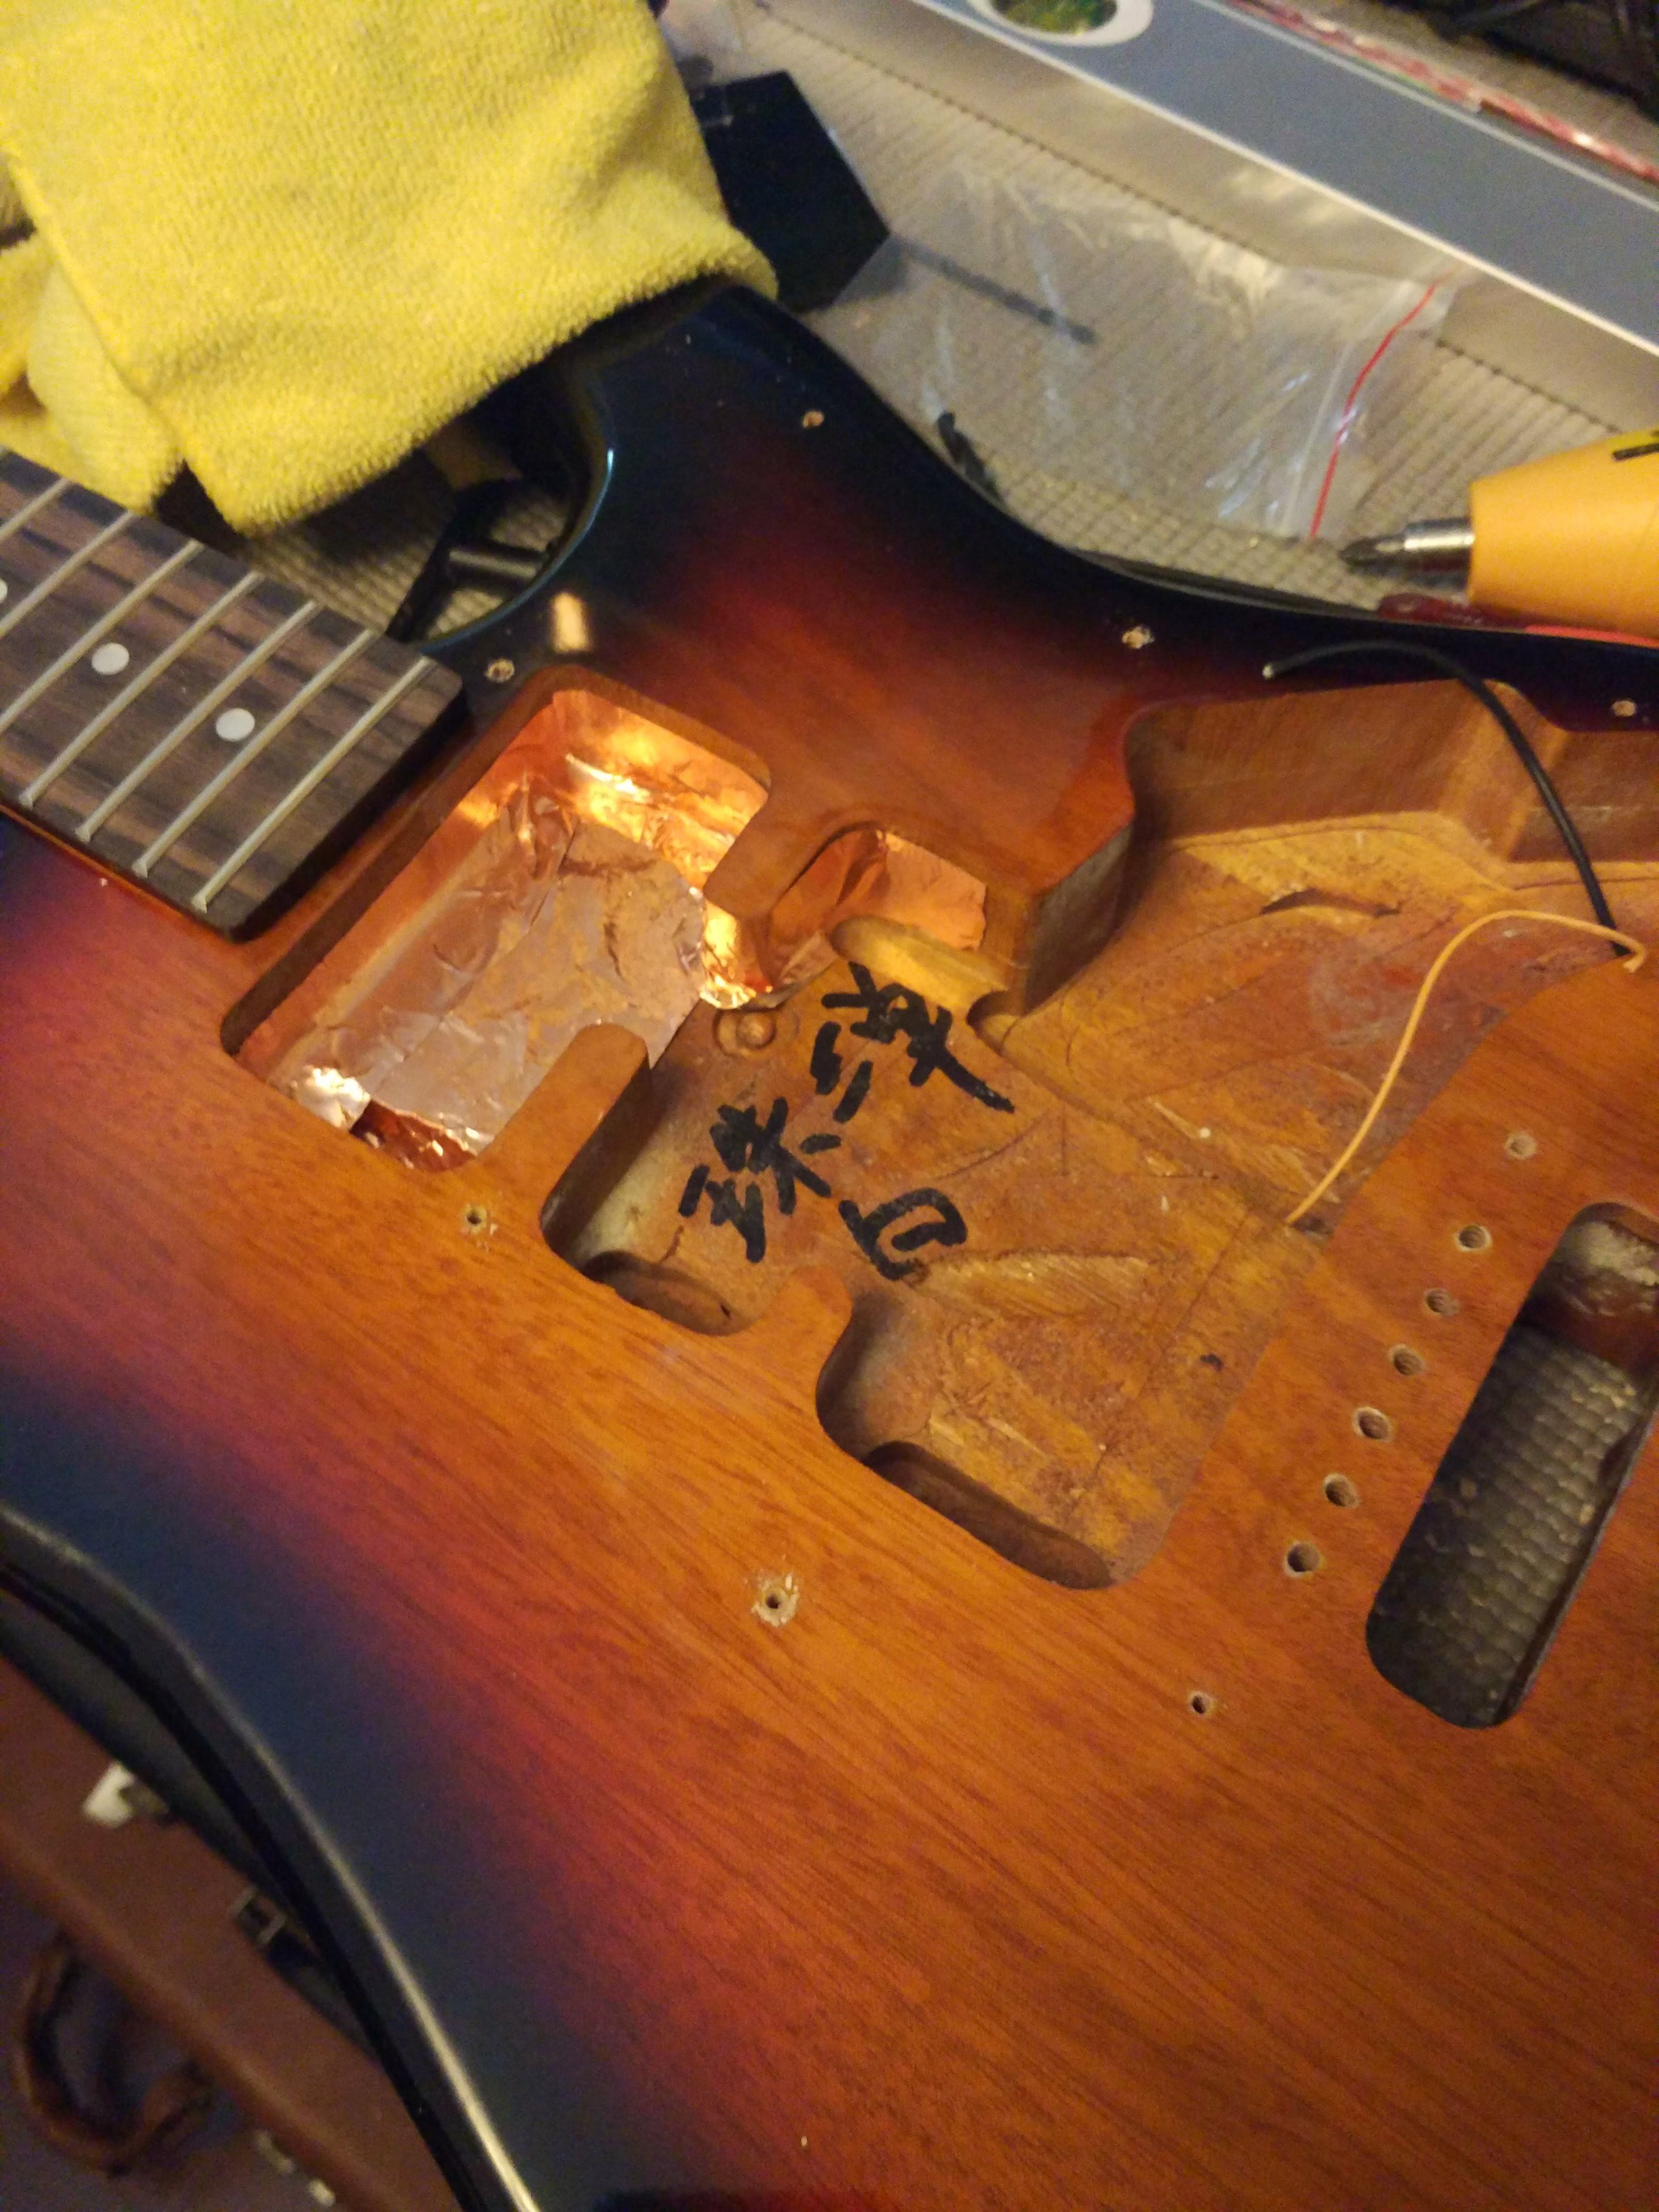
Here's us shielding the body with copper for grounding
The slowest and most tedious part of it all was leveling the frets with fine sandpaper. Next time I'll definitely pay somebody else to do that.
I finally got a chance to solder stuff. It went pretty well considering I haven't done it ever before.
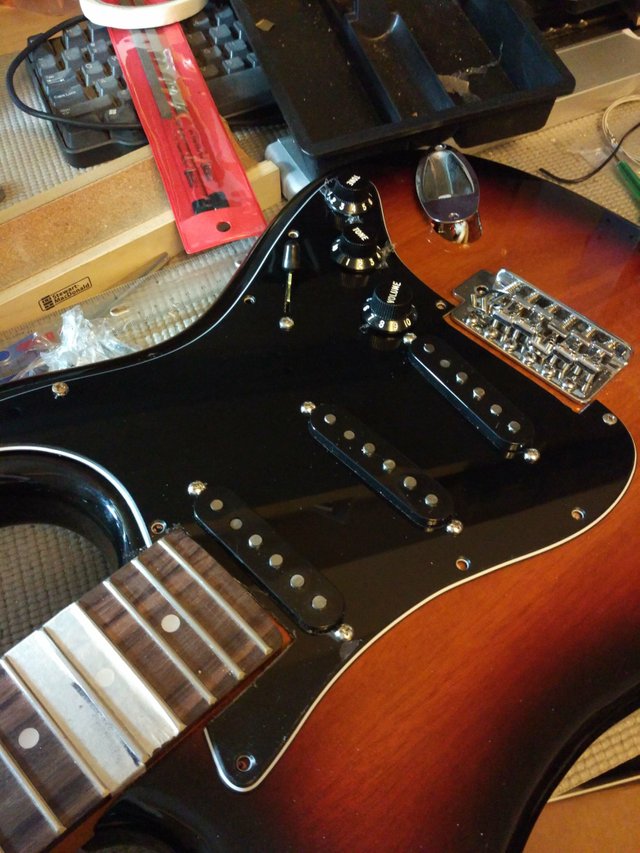
The soldering is done, ready to put the screws in.
After the guitar was finally put together, my level of excitement was through the roof. Even though I took it to a professional tech for setup a bit later (didn't want to mess it up not knowing what to do), I still consider it the guitar I built. And it feels different to play it. Somehow closer to me than the other guitars I've had for much longer.
Hey there, Steemians!
Nick here. I'm a Ukrainian sound designer and musician living in Shanghai, China. Thanks for taking the time to read my post. Up-vote and Resteem if you liked it, Follow me, Comment and ask questions because discussion is the best part!
I'm new here. If you want to know more, follow this link to my introduction post.

awesome piece of work, really love it. keep it up. see you soon. Followed u. @nickerpmg
Looks like it turned out well. Very cool!
Great job my dude! You're a beast with that! I see you also have a Epiphone Les Paul Sun-Burst on that rack too! Nice. I have a Honey-Burst one :)
Keep up the great work.