Update 78#. Writing Expedition, Have fun While writing:- TUESDAY [CRAFT PRODUCTION]
- Good day Beloves Steemians
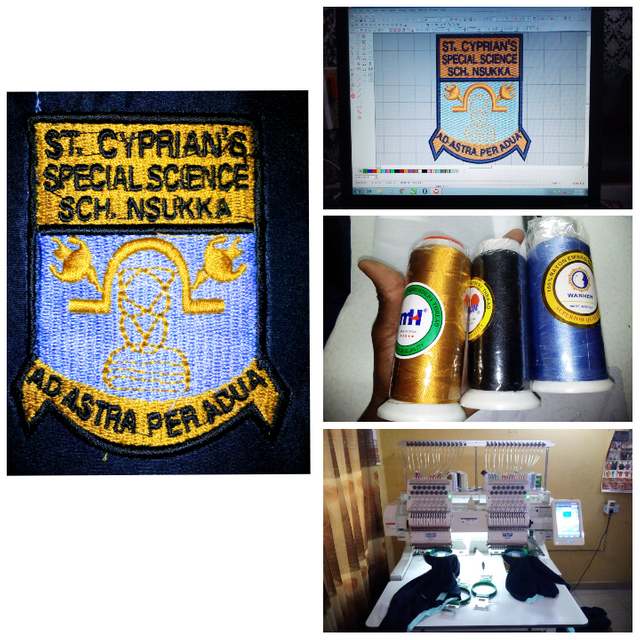
It's Another wonderful day to participate in such an amazing contest. Well Today content will be special and also an amazing craft production using my monograming machine, Below I will be giving full details on how I produce this amazing Design using my monograming machine which stand to be a school logo. Join me, Let's go.......
- EQUIPMENT USED IN PRODUCTION
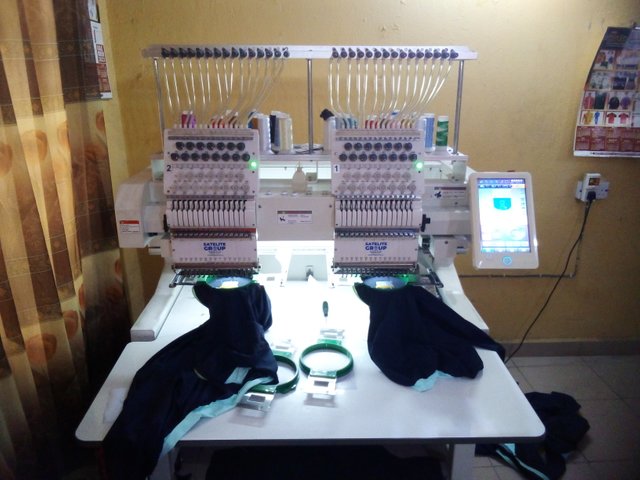
- Monograming machine
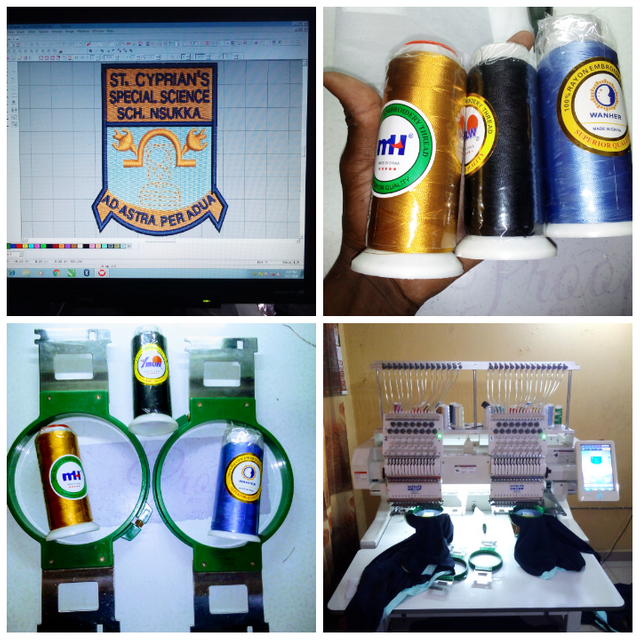
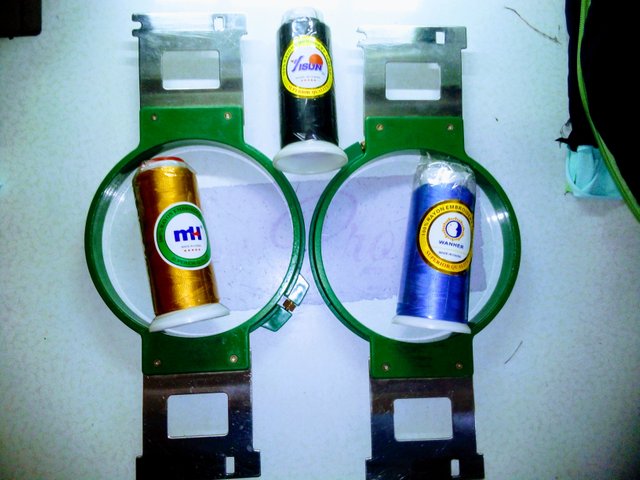
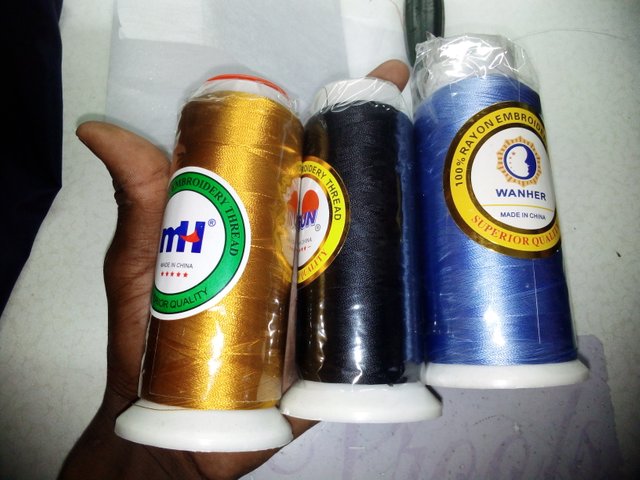
- Thread ( Sky blue, Golden, and black)
- Needle
- Computer system
- STEP ONE
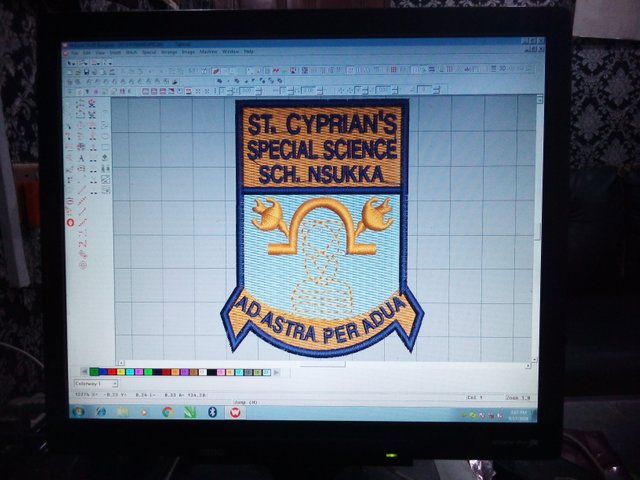
Before production, The first step I considered was what we normally call DIGITIZING Which means designing of this particular logo with the computer system using an Application known as WILCOM. At this point I moved to my computer system and through the help of my computer system I designed this particular work to a perfect fit, It only took me about 30 minutes of designing then I moved to the next step.
- STEP TWO
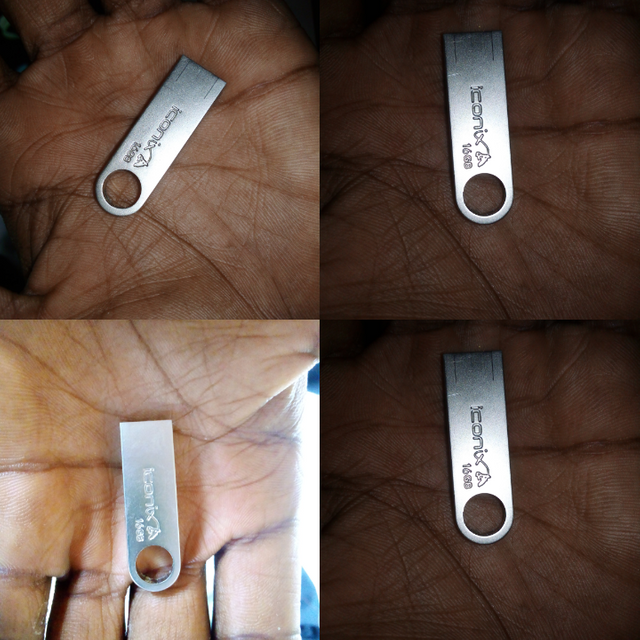
As I was done with Step One which was designing of the school logo using the computer system, I then tranfered it to the FLASH DESK and through the flash desk I then finally transferred it to my monograming machine in other for it to place the Design on the clothing material that will definitely be used.
- STEP THREE
 |  |
|---|
At this point, I Enacted the Design to the homepage of the monograming machine and then Assemble my working material which includes my frames and threads including the Needles, I added them to the machine and then moved to the next Step.
- STEP FOUR
 |  |
|---|

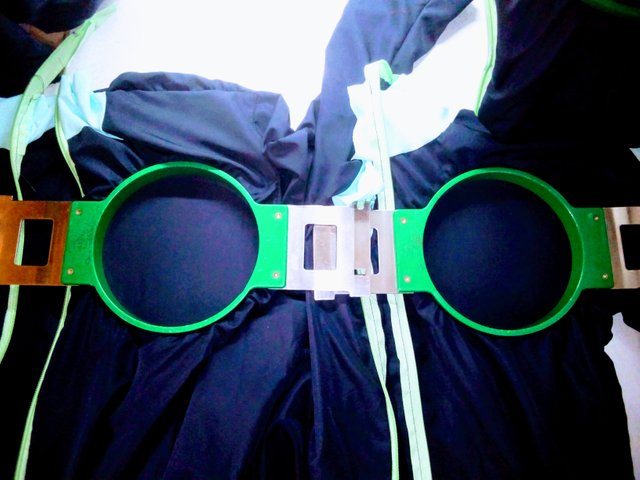
At this juncture, I then hook the clothing material that will be used for the placement of the Design, using my plastic frames, and at the exact position that it should be. And Finally I added it to my monograming machine for it to place the Design.
- STEP FIVE
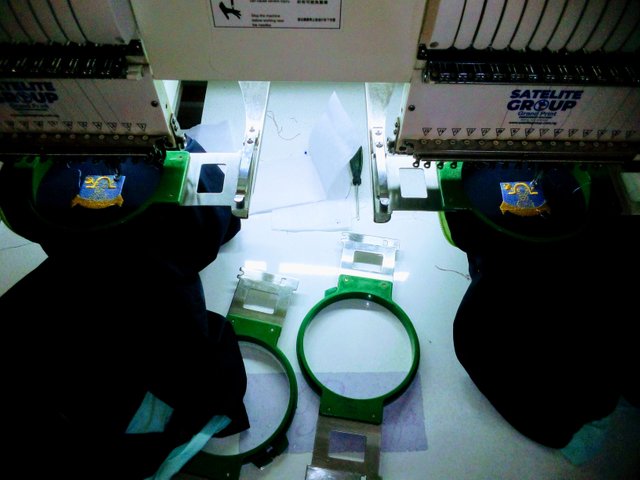 |  |
|---|
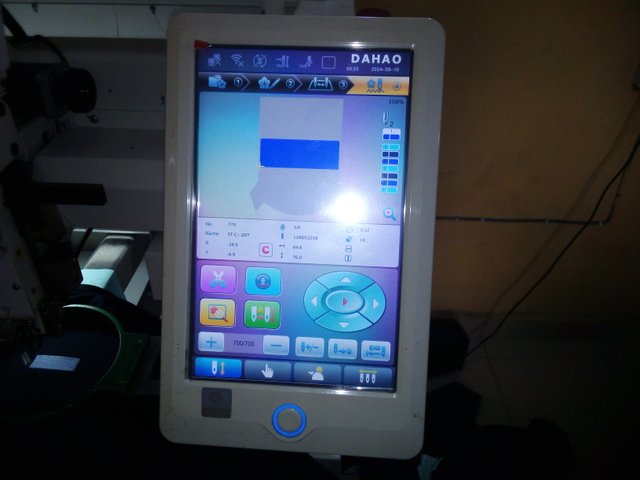
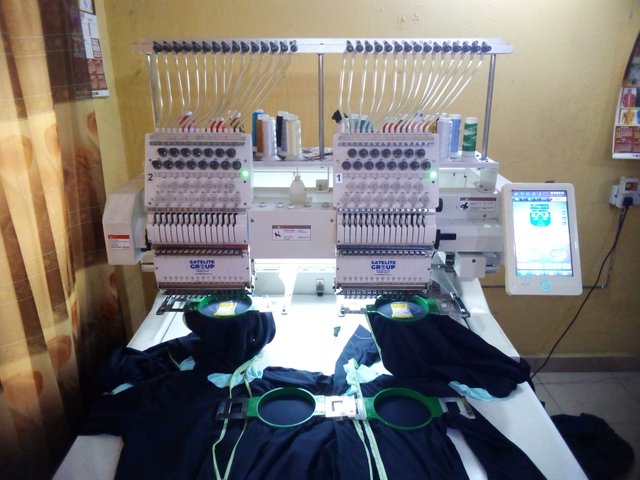
This seems to be the final Stage, As I added the clothing material to my monograming machine, I then added my colour FUNCTION to the exact Needle position, then I Trace the work to the exact Position the design should be, then I FINALLY Starts my monograming machine which immediately started placing the design my itself.
 |  |
|---|
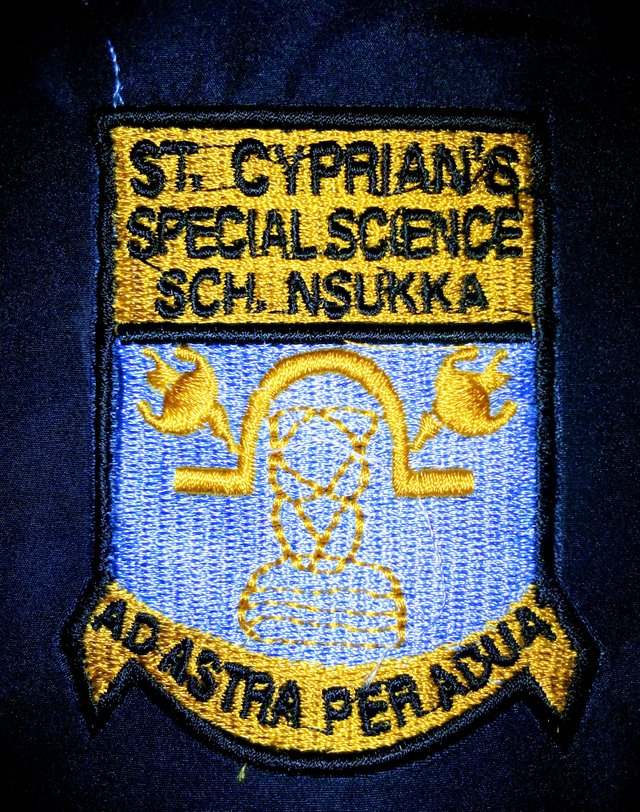
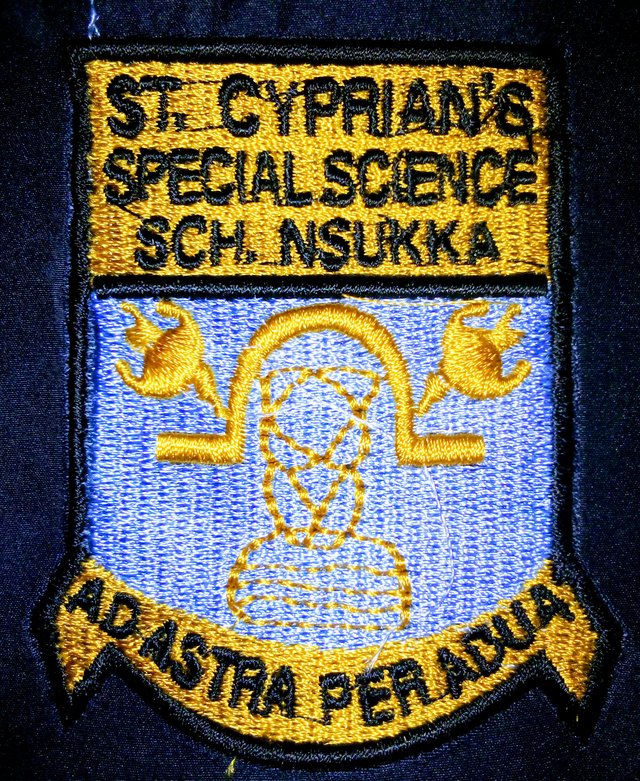
Guess what..... Finally the Result is definitely out and as you all can see, it a school logo so beautiful and amazing, It was only PRODUCED through the help of my monograming machine and computer system, it my handwork and we give out the best to our lovely constumers 😃. It only took the monograming machine about 12 to 13 minutes to finish placing this unique and fantabulous logo.
Thanks for Your Visitation 😃 I Really Appreciate 😃. AM inviting @josepha @okere-blessing @bossj23.
Its an amazing design and I love the steps you took they are well detailed and clear to follow. Maybe you should make one for steemit am sure it would be beautiful and lovely, success to you and wishing you all the best
0.00 SBD,
0.03 STEEM,
0.03 SP,
0.00 TRX
https://twitter.com/Manofgrace0001/status/1836417405083341305?t=8FfeDfXLTkxlK-8h6pL8xQ&s=19