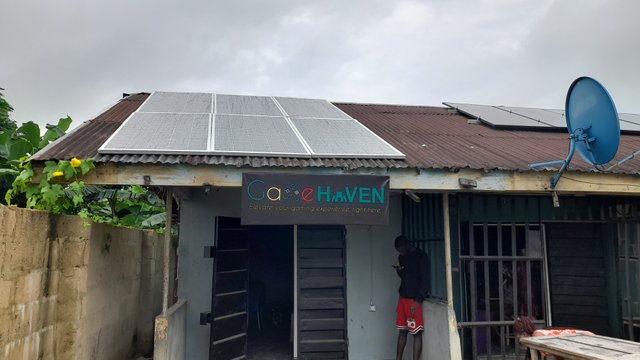
First installation for the month of September, 2024 (2.5KVA solar system)
After posting my Steem Solar & Electricals report for August 2024 a few days ago, it was a little bit weird as I couldn't make much profit that month, and I didn't do any solar installation. However, I remained optimistic about September's prospects.
I got some interesting encouragement from friends.
The happy time
Three days ago, I received a call from an unknown number. The caller asked if I was at the shop, and I confirmed. 15 minutes later, he arrived and began inquiring about solar installation for his video-game shop.
He also expressed frustration about the substantial amount he'd spent on petrol recently and criticized the government's negligence regarding the struggles of the common people of the country.
To cut to the chase, we reached an agreement, and he made the payment. The installation was completed on Thursday 19th September, 2024! 😊
The installation
System profile:
- Inverter - 2.5KVA
- Voltage - 24V
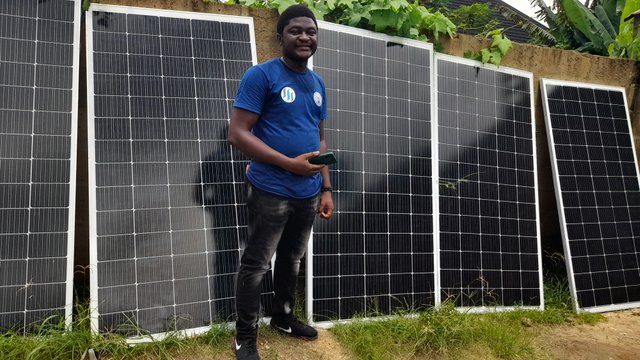
- Panel - 400W (6 pieces)
- Charge controller- 60A (MPPT)
- Battery - 220Ah Tubular (4 pieces)
- Wire - 10mm
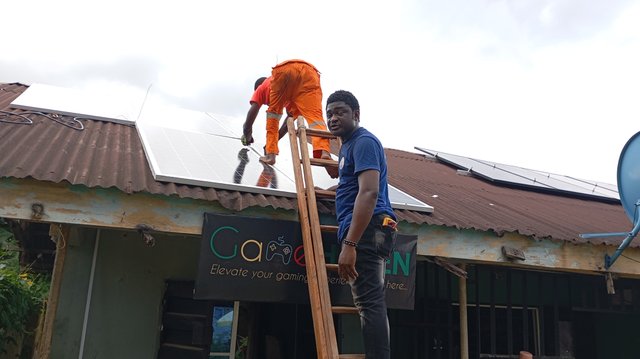
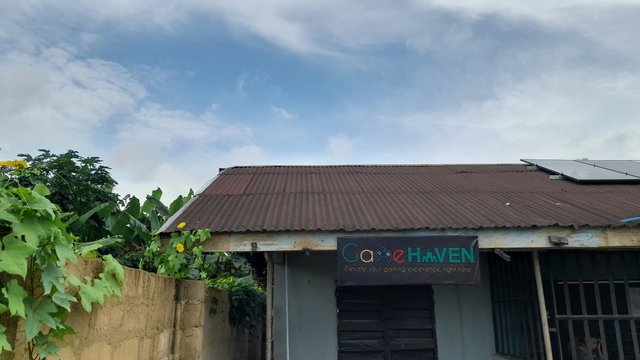
- Location: Game Haven, Ekamba Nsukara-Nwaniba
It was a big installation that took almost my entire day, hence, the reason I couldn't post the interview showcase yesterday due to how busy I was.
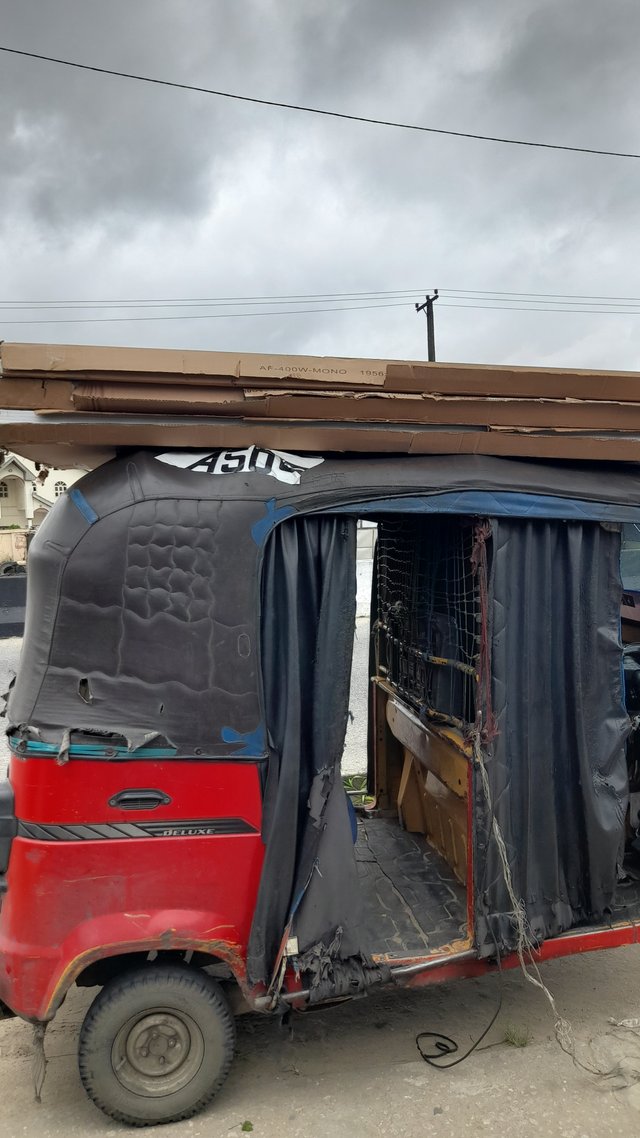
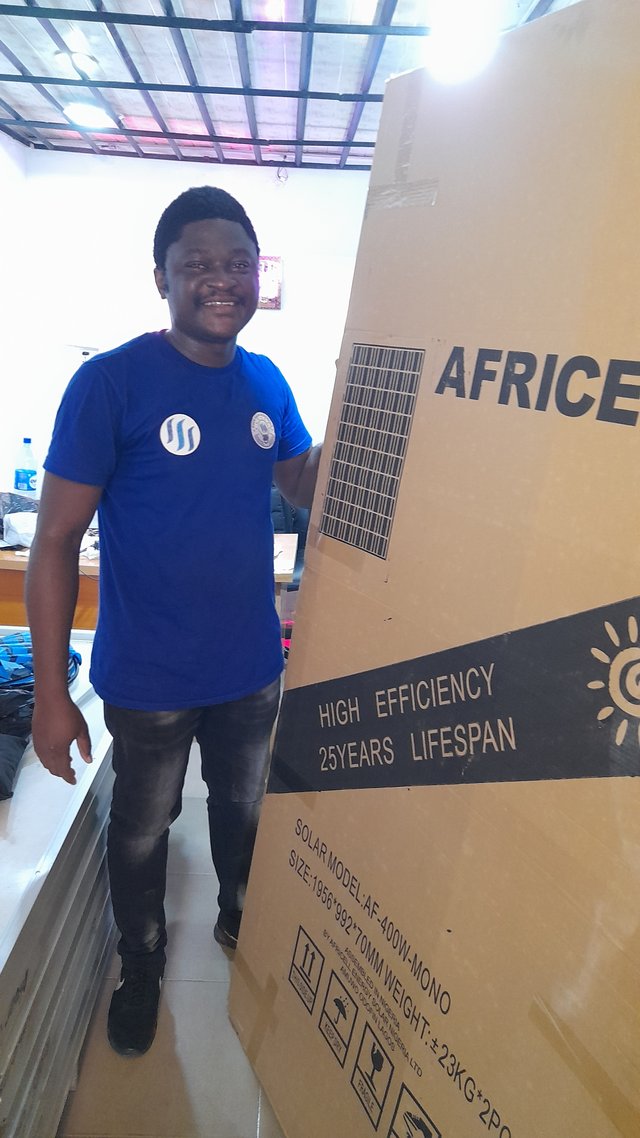
I first sorted out the components and my tools. And I made arrangements for a tricycle to convey it to the site. I had to plead with the driver to help take these photographs 😀
Since this was a heavy job that has to do with lifting of the panels, I needed a helper, so I unvited one more person to assist in atleast lifting the panels.
The weather was good and harsh 😀 because of the sun.
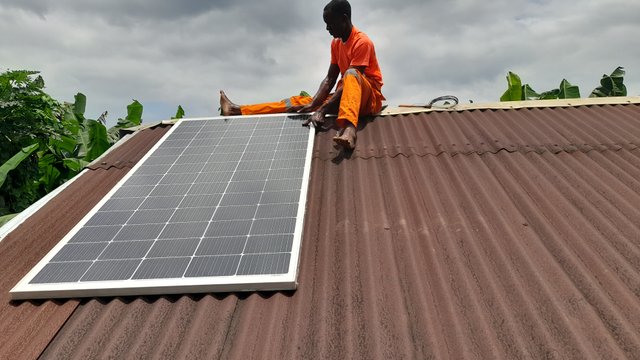
Stage 1: Panel mounting
I started my installation by mounting the panels. These are heavy panels that required two people to lift if to the roof.
Before mounting panels
A very important part I'll like to highlight here is that the panel connections were series-parallel configuration since it is a 24 Volt system.
That is - 3 solar panels were connected in series (1200W, 60V), while 2 sets of series-connected panels were connected in parallel.
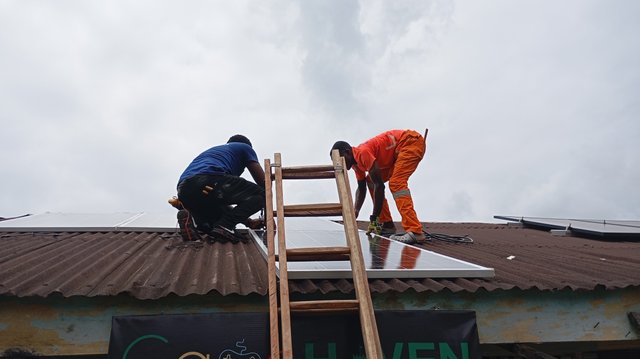
I did the entire connections by myself while my assistance was just helping me to hold the panels.
It is important to give attention to this panel configuration.
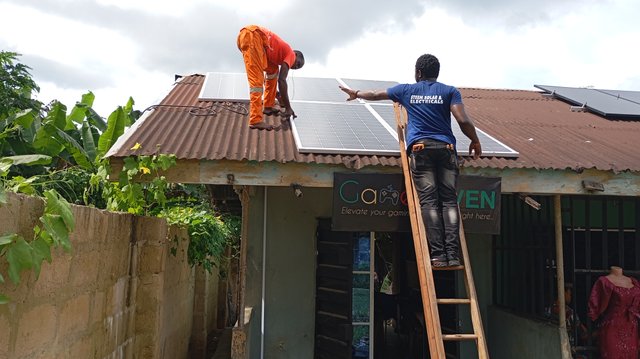
After spending 4 hours on the roof, the solar panel installation was successful.
Stage 2: Connecting the batteries
Before installing the battery
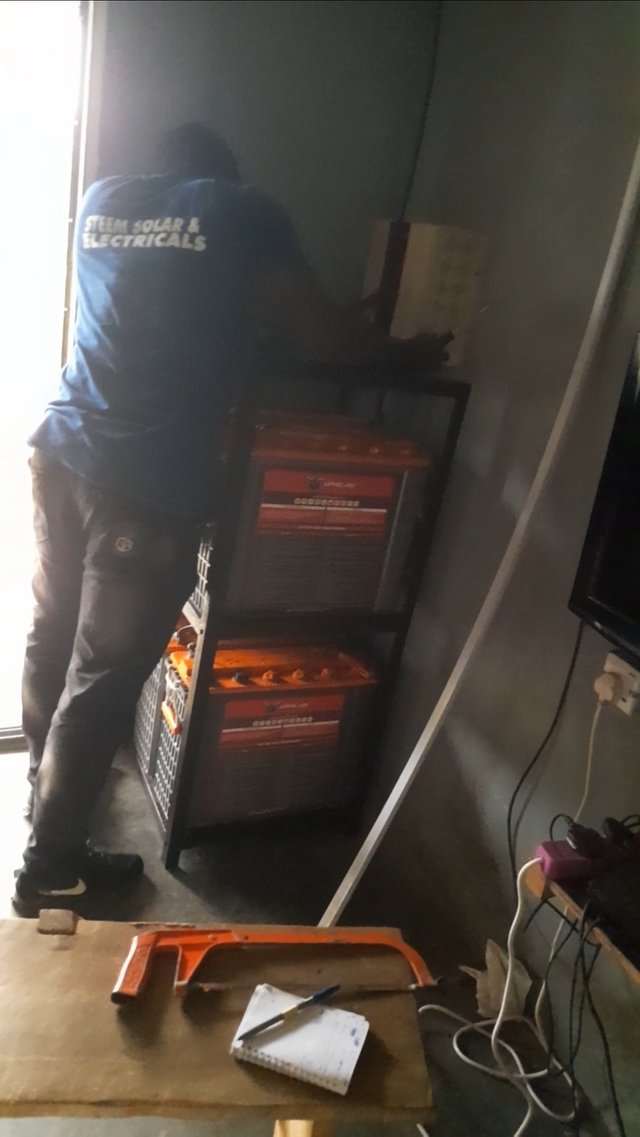
Remember, this sytem is a 24V system and connecting 4 tubular batteries(220A) for a 24V inverter requires a specific configuration to ensure safe and efficient operation as it should.
Each of the battery were 220Ah by 12V battery.
To achieve 24V, I connected the batteries in series-parallel configuration as I explained below.
I'll choose to label my batteries as follows for explanation purpose :
- Battery 1
- Battery 2
- Battery 3
- Battery 4
While,
+ for positive terminal
- for negative terminal

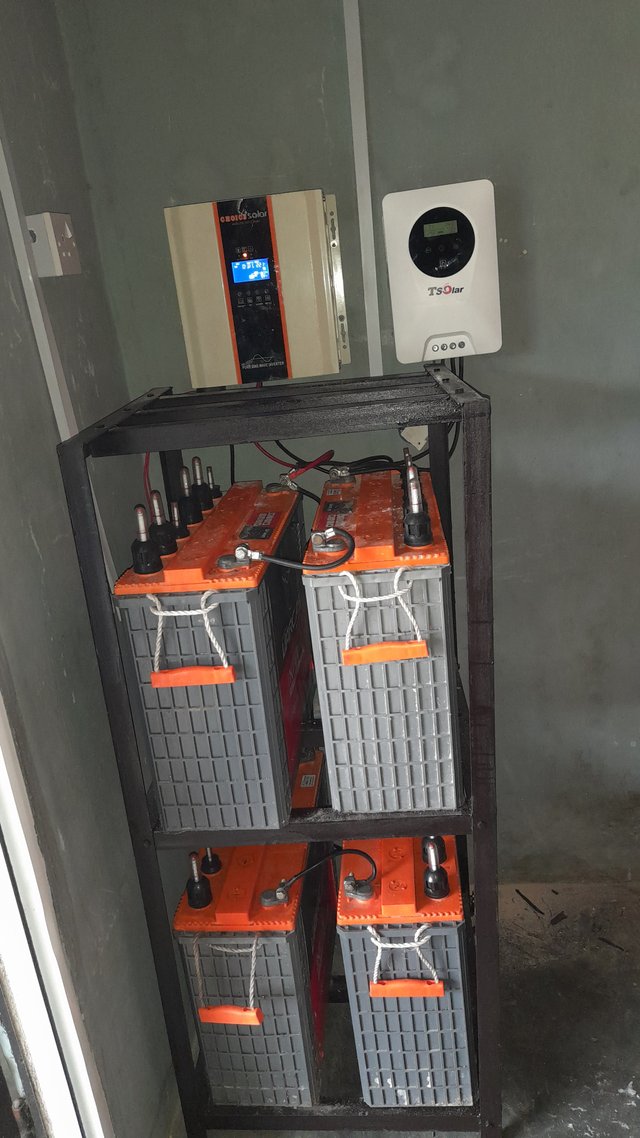
Battery configuration diagram
Let's understand the diagram's connections which are in two form
Series Connection (2 sets of 2 batteries)
Connect Battery 1 (+ terminal) to Battery 2 (- terminal). [First series]
Connect Battery 3 (+ terminal ) to Battery 4 (- terminal) [Second series]
Parallel Connection (2 series sets):
Connect first series (+ terminal) to second series (+ terminal)
Connect first series (- terminal) to second series (- terminal)
Last Connection:
- Connect the combined (+ terminal) to the inverter's 24V (+ terminal) input
- Connect the combined (- terminal ) to the inverter's 24V (- terminal) input
The whole of these explanations were what I did, so I am taking time to explain how this is connected.
After the entire battery connections, I connected the 24V battery bank to the 2.5KVA, 24V inverter system and then the MPPT charge controller to 24V battery bank.
Note that it is the battery that is connected first before connecting the panel array to the MPPT charge controller.
Check out the result below..
I spent almost 7 hours on this installation, but I am grateful, it was a success and my client was happy with my services.

It was a stressful day, but it was a money making day 😀
Should you need such services or a solar installer, please kindly contact me especially if you are from Nigeria.
Steem solar & electricals
(21st September, 2024)
(CEO/MD)
Ubongudofot

 |  |
|---|---|
Nice work mate, i am sure the buyer will be happy with the purchase.
Very tidy install.... not that i know anything but it looks tidy & professional!
0.00 SBD,
0.20 STEEM,
0.20 SP,
0.00 TRX
Thank you so much, I get better everyday with my installation techniques.
Ofcourse he was very happy despite the high cost of buying it.
Now, with this, he can operate his game house smoothly.
0.00 SBD,
0.44 STEEM,
0.44 SP,
0.00 TRX
Got to keep that Game house open :)
Have a good weekend brother
0.00 SBD,
0.06 STEEM,
0.06 SP,
0.00 TRX